
Design and issue certificates
Create certificate templates, add sponsors, and issue certificates to a course or cohort.
- 1
Open Certificate Studio
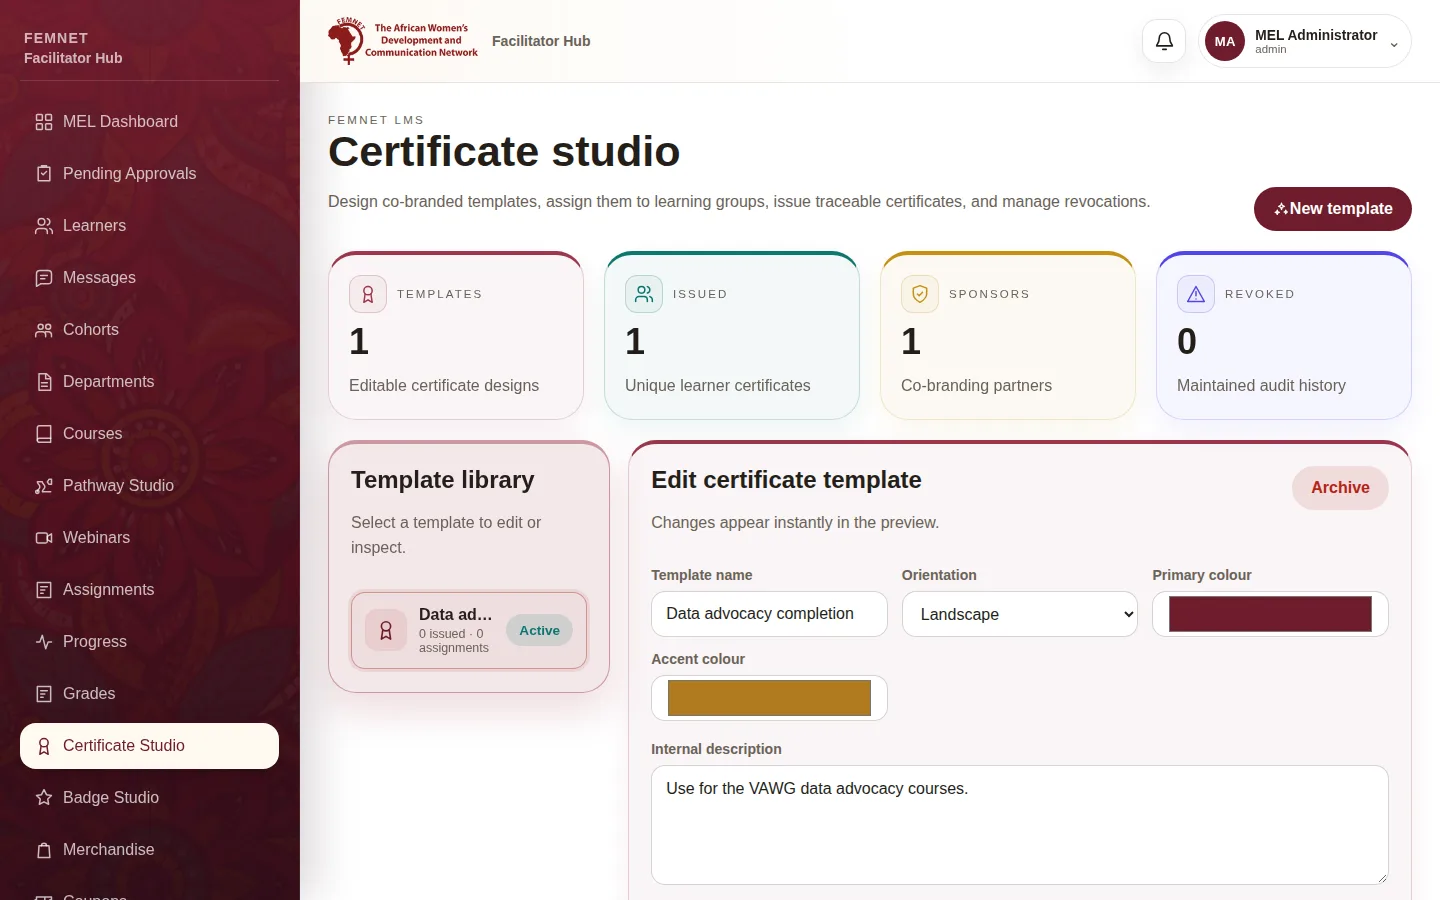
Select Certificate Studio in the hub menu. Template library lists existing designs; select one to edit it, or select New template.
- 2
Design the template
Fill in Template name, Orientation, colours, Certificate heading, Certificate statement, and the Signatory name and Signatory title. Upload Background artwork if you have it. The Live certificate preview updates as you type. Select Create template or Save changes.
- 3
Add sponsors for co-branding
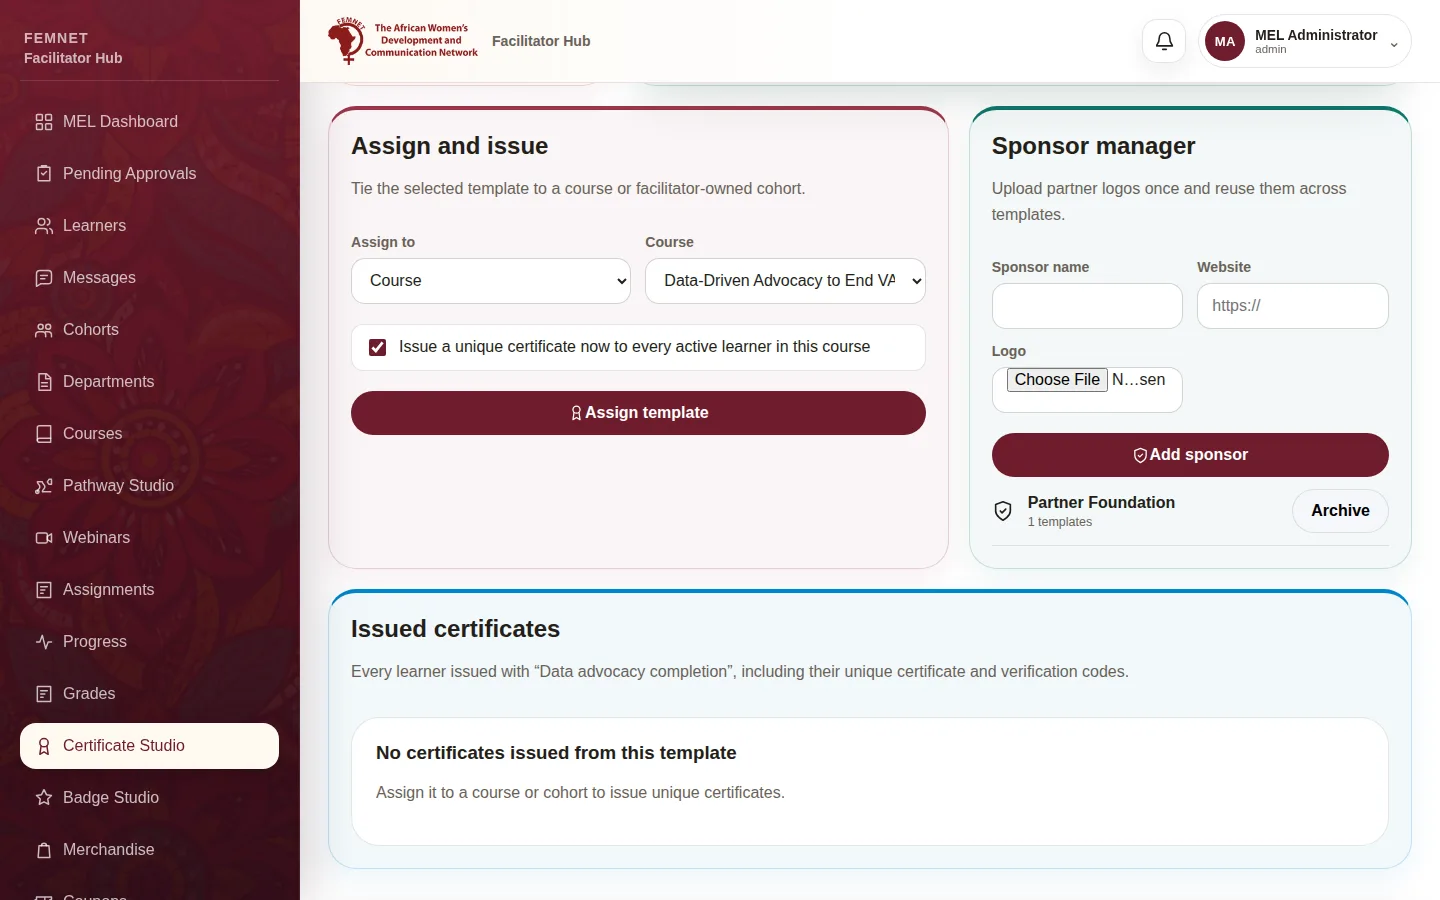
In Sponsor manager, enter a Sponsor name, website and logo, then select Add sponsor. Tick Co-brand with sponsors on a template to show their logos beside FEMNET's.
- 4
Assign and issue
Under Assign and issue, choose Course or Cohort, pick one and select Assign template. Certificates are issued straight away to learners in that group who meet the , and each is emailed. For a cohort, learners must have finished every course on its pathway. Learners still finishing are skipped; assign again later to issue theirs.
Tip: Every certificate carries a unique number, a verification code, the FEMNET seal and a QR code. Anyone can scan the code to confirm the certificate is genuine.
- 5
Check or revoke issued certificates
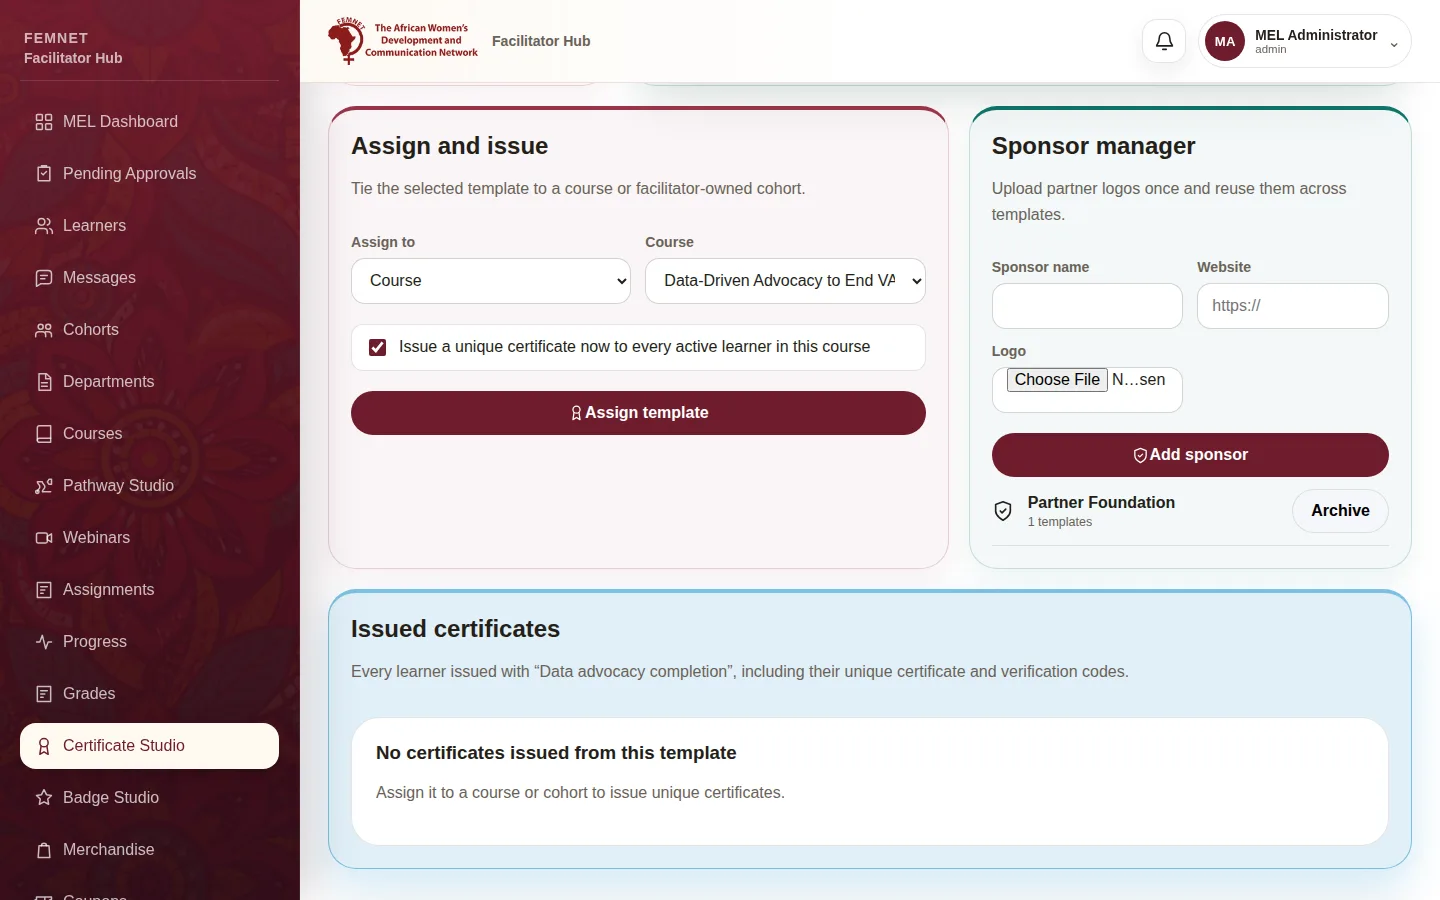
Issued certificates lists every certificate from the selected template. Select Revoke if one was issued in error; the learner sees it as revoked.
Step 1: Open Certificate Studio
If something goes wrong
- A learner finished the course but has no certificate.
- Check Progress: every activity must be complete and the assessment average must be at least 70%. Then assign a template again, or complete their cohort, to issue it.
- Someone asks whether a certificate is real.
- Ask them to scan its QR code, or enter its verification code on the learner app's /verify page. Revoked certificates show as revoked.